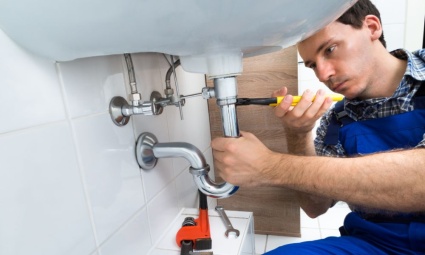
Some bathroom jobs should be left to the experts, but sometimes the experts aren’t available, or the job is small enough to be done using your own expertise.
Installing a bathroom sink can be an easy enough installation to perform yourself without calling out an expensive plumber, saving you time and money.
This step-by-step guide covers the basics of fitting a bathroom sink, including common mistakes to avoid, essential tools, and the installation process.
Common Mistakes When Installing a Bathroom Sink
- Using pipes that are too small for the installation
- Ignoring or violating code restrictions for your area
- Not using Teflon tape or pipe compound around threaded joints
- Failing to level the sink correctly during installation
- Not installing an air gap filling for bathroom fixtures
- Cutting supply stub outs too short to install the shut-off valves after the finished wall is in place
- Not properly aligning tubing into fittings or stop valves
- Not getting rid of dirt and debris from the lines by running the outside hose valves or flushing toilets before turning the water back on in your home
- Attaching copper to galvanised metal without using a brass or dielectric fitting between the two
What You Need to Install Your Bathroom Sink
For a typical installation, you’ll need:
- Hot and cold water supply lines
- Shut-off valves
- Transition fittings (as required)
- Flexible tap connector hoses
- Basin waste kit
- Sealant (preferably sanitary-grade silicone)
- Spirit level
- Two adjustable spanners
- Pipe wrench (optional)
Planning & Spacing Guidelines
Make sure you have adequate clearance around the basin:
- At least 4 inches between the sink and a toilet or finished wall
- 2 inches from a bathtub or shower screen
- At least 21 inches of clearance in front of the basin to any wall or other fixture
This ensures comfort and compliance with standard UK bathroom layout practices.
Step-by-Step: How to Install a Bathroom Sink
Step 1: Position and Level the Basin
Having removed the old sink, align your new bathroom sink against the wall or countertop. Use a spirit level to make sure it’s even. Mark the drill holes if wall mounting.
Step 2: Attach Taps and Waste Fittings
Before mounting the sink, make connections by fitting flexible tap connector pipes and waste pipe parts to new taps. Use gaskets and washers to ensure a watertight seal.
Try to fit all parts to the new sink before installing the sink to the worktop or wall, as it makes it more difficult to make amendments once the bathroom sink is fitted.
Step 3: Secure the Basin
Fix the basin to the wall using the supplied brackets or screw it into the countertop. Connect the overflow and waste pipe to your plumbing system, ensuring proper alignment.
Step 4: Connect the Water Supply
Attach the flexible tap connectors to the hot and cold water shut-off valves. Using two adjustable spanners, tighten the flexible tap connectors, and use waterproof sealant around the lip of the unit. Turn the water on and test for leaks.
Finally, apply a bead of sanitary sealant around the edge of the basin to seal the joint between the basin and wall or countertop.
Shop Bathroom Basins
At Bathroom City, we offer one of the most extensive selections of bathroom basins in the UK. Whether you're fitting a compact corner sink, a stylish countertop basin, or a full pedestal unit, you'll find the perfect solution in our collection. With over 35 years of experience supplying high-quality bathroom furniture, we’re here to help you complete your bathroom upgrade with confidence.