
A bathroom vanity unit serves a dual purpose – housing a washbasin and countertop while providing storage space for bathroom essentials. The main advantage of this unit is that you’ll not need to fit a separate washbasin and storage unit.
Installing this versatile unit will help you optimise space utilisation in your bathroom, enhancing its visual appeal and practical functionality.
The installation of this indispensable bathroom fixture can be exciting, but it’s crucial that you do it right. While a like-for-like replacement can be simple, fitting a newer model is a job best left to professionals.
Navigate to any section of this post by clicking on the links above.
How to Install a Vanity Unit
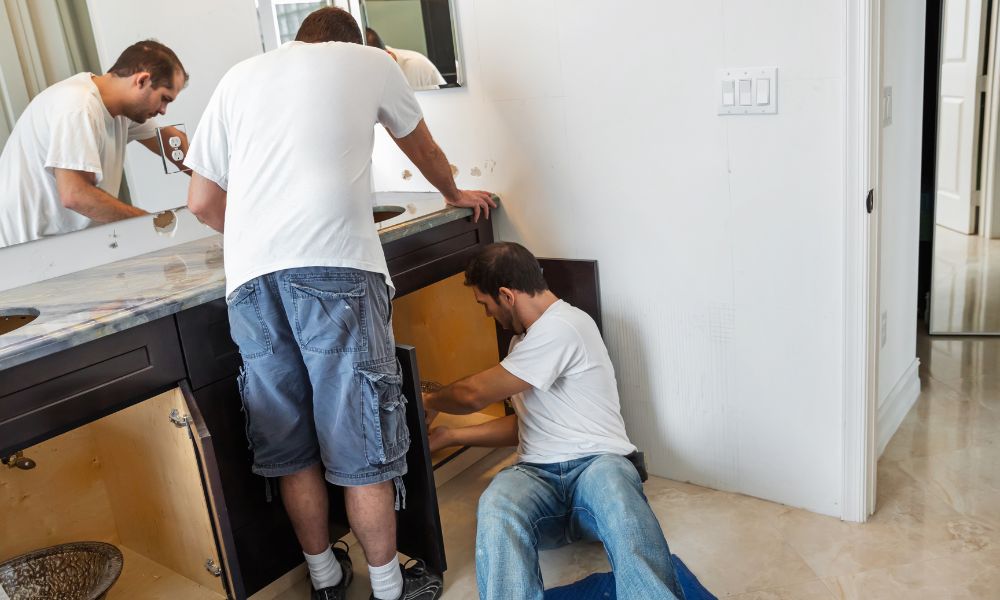
The installation can be tricky, as the latest vanity unit models have many components. In addition, there’s no margin for error when fitting plumbing parts.
This detailed guide will cover the steps involved in fitting a vanity unit from planning and preparation to installation and working on the plumbing connections.
1. Planning and Preparation
Step 1: Measuring the Space
Accurate measurements of your space will ensure a seamless fit and functionality.
Consider the position of the other bathroom fixtures, such as the toilet, bath, and shower enclosure. Allow sufficient leeway for opening/closing the shelf doors and/or drawers of the vanity unit. Make sure the installation of the new fixture will not lead to a space crunch.
In addition, note the position of the existing washbasin tap water inlet pipe/s and waste pipe.
Step 2: Choosing the Right Vanity Unit
While the functionality of a vanity unit is important, it must also complement the aesthetics of your bathroom.
There are other things to consider when choosing a vanity unit, as well.
Step 3: Gathering Tools and Materials

The right tools and materials can simplify the installation process. So, have the following items at your disposal:
- Pencil
- Measuring tape
- Clean cloth
- Putty knife
- Spirit level
- Adjustable wrench
- Pipe wrench
- Screwdriver
- Power drill
- Drill bits
- Hammer
- Hole saw
- Silicone sealant
- Silicone gun
2. Vanity Unit Installation
Step 4: Position the Vanity Unit
(Note: You can skip directly to the last line for a new installation.)
If you’re remodelling your bathroom or changing only the vanity unit, turn off the water supply to the basin tap. Remove the old vanity unit and prepare the wall.
Unscrew the old wall fasteners and studs. Scrape away the old sealant on the wall with a putty knife. Clean the area by wiping it with a clean cloth. Remove dust, dirt, and grime from the wall, and wipe the surface dry.
Remove the drawers and shelf doors from the new vanity unit. Then, place it in its designated location.
Step 5: Mark the Wall for Mounting
Use a spirit level and pencil, and mark the position of the wall brackets. Mark the drilling points carefully. Ensure the marks are level and uniformly spaced.
Step 6: Fix the Vanity Unit to the Wall
Use a masonry drill bit and drill holes in the points you marked. Ensure the holes are sufficiently deep to accommodate the wall anchors. (Note: If the wall is tiled, use a tile drill bit to avoid damage.)
Insert the wall anchors into the holes and tap them lightly with a hammer. Next, attach the mounting brackets to the vanity unit using the screws provided.
Lift the vanity unit and screw it to the wall anchors. Ensure the screws are secure without over-tightening them.
3. Plumbing Connections
Step 7: Shut Off the Water Supply
Turn off the water supply at the mains and drain off the water remaining in the pipes.
Step 8: Connect the Plumbing
Fix the mixer first by fitting the seal and screw in its threaded studs. Next, connect the water supply hoses and fasten the mixer to its seat.
Make sure the mixer is correctly aligned to the centre of the washbasin, and tighten the fixing nuts.
The drain connection is the next. Follow the manufacturer’s instructions, and attach the drain connection to the washbasin. Secure and tighten the ring-nut.
The overflow pipe is the last. Connect this to the drain fitting.
The plumbing connections are complete.
Step 9: Install the Washbasin
Read the manufacturer’s instructions and fix the mixer, drain connection, and overflow pipe to the washbasin. Apply a thick layer of silicone sealant around the top surface of the vanity unit and lower the washbasin into position.
Step 10: Turn On the Water Supply
Once you have made all the plumbing connections, turn on the water supply valves and check for any leaks.
FAQs on Installing a Vanity Unit
1. Do vanities need to be attached to the wall?
Wall-hung vanities, as the name indicates, are attached to the wall. The wall brackets of these units are secured to the wall with screws. These brackets support the weight of these units.
Freestanding vanities are different. The self-supporting design of these units means you don’t need to attach these units to the wall.
However, to keep the sink stable and maintain the stability of the unit, most models are fixed to the wall. In addition, since the plumbing connections need to be stable all the time, vanities are attached to the wall.
2. How much does it cost to install a vanity unit?
The cost to install a vanity unit depends primarily on the complexity of the task.
If quoted separately, an independent contractor may quote £200 – £300 for fitting a vanity unit.
Installing a premium model will, however, cost a lot more.
3. How long does it take to install a vanity unit?
The installation of a vanity unit needs extensive planning. If the work on the water supply and waste water drain pipes is minimal, the installation may take 3 to 4 hours.
However, if the plumbing system is old and needs reworking or replacement, the installation could easily take 6 to 8 hours.
4. Do I need a plumber to install a vanity unit?
Whether you are remodelling your bathroom or designing a new one, hiring a plumber to install a vanity unit can be extremely helpful. You can save both time and money, as a plumber can install and maintain the plumbing fixtures and connections in your bathroom whilst installing the vanity unit.
Shop Vanity Units
At Bathroom City, our collection of premium vanity units includes trending designs from various brands. Our renowned product range complements any style aesthetic and matches every price point.
Explore our collection of vanity units today. With our unmatched product guarantee and after-sales service of over three decades, you can rely on us to stay committed to delivering superior products.
Other related articles you might also like to read: